Level Ground With Your Mini Skid Steer Bucket in 5 Easy Steps
Level Ground With Your Mini Skid Steer Bucket in 5 Easy Steps
Table of Contents
- 1. Prepare Your Job Site
- 2. Set Your Bucket Angle Correctly
- 3. Use the Correct Travel Speed
- 4. Make Multiple Overlapping Passes
- 5. Check Your Work Constantly
- Advanced Tips for a Professional Finish
- Common Mistakes to Avoid
- Tools That Assist the Grading Process
- Why a Flat Surface Matters
- Practice Makes Perfect and Action Plan
Every construction, paving, or landscaping project begins with a flat, stable foundation. If you are staring at an expanse of uneven dirt, deep ruts, or bumpy terrain, it is time to get to work. Fortunately, you can easily level ground with your mini skid steer bucket. While it might look intimidating at first, achieving a perfectly smooth grade is not complicated once you learn the right operating techniques.
This comprehensive tutorial breaks down exactly how to level ground with your mini skid steer bucket into five manageable phases. By strictly following this guide, you will master the art of grading, saving both time and back-breaking manual labor. Let’s dive into the process so you can level ground with your mini skid steer bucket like a seasoned heavy equipment professional.
1. Prepare Your Job Site
Proper preparation dictates the success of your entire project. Before you even turn the key, you must meticulously clear the area. Large rocks, thick roots, and hidden debris can severely damage your equipment and completely derail your attempt to level ground with your mini skid steer bucket.
Start by marking your desired boundaries using stakes and a high-visibility string line. Establishing your starting and ending grades gives you a definitive visual target, making it much easier to level ground with your mini skid steer bucket accurately. Additionally, evaluate your soil conditions. Sandy earth shifts effortlessly, whereas dense, hard-packed clay requires more aggressive scraping.
⚠️ Weather Warning
Above all, never try to level ground with your mini skid steer bucket in muddy, wet conditions. Wet mud sticks to your steel attachments like glue, compacts unevenly, and absolutely ruins your final grade. Always wait for the soil to dry.
2. Set Your Bucket Angle Correctly
The angle of your attachment dictates whether you are cutting dirt or merely smoothing it. To effectively level ground with your mini skid steer bucket, you must dial in the perfect hydraulic tilt.
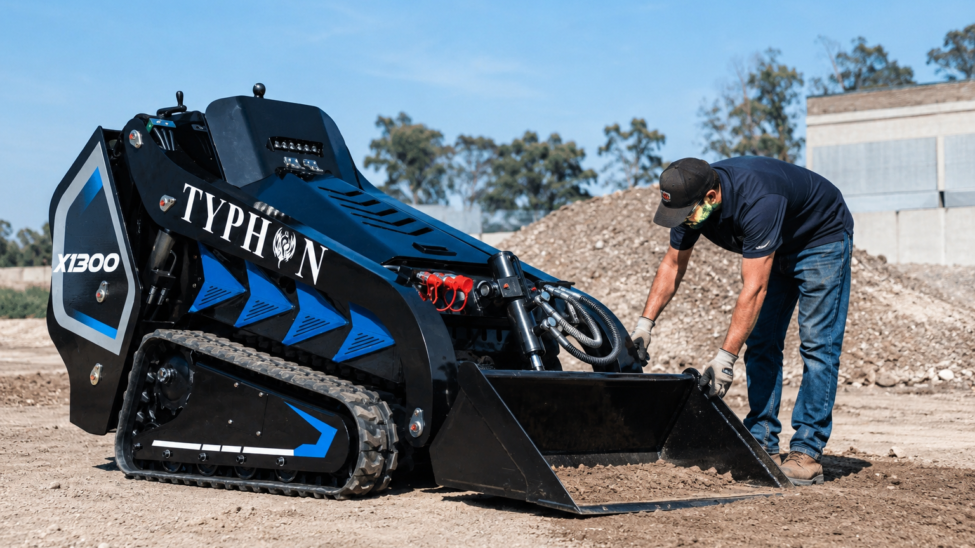
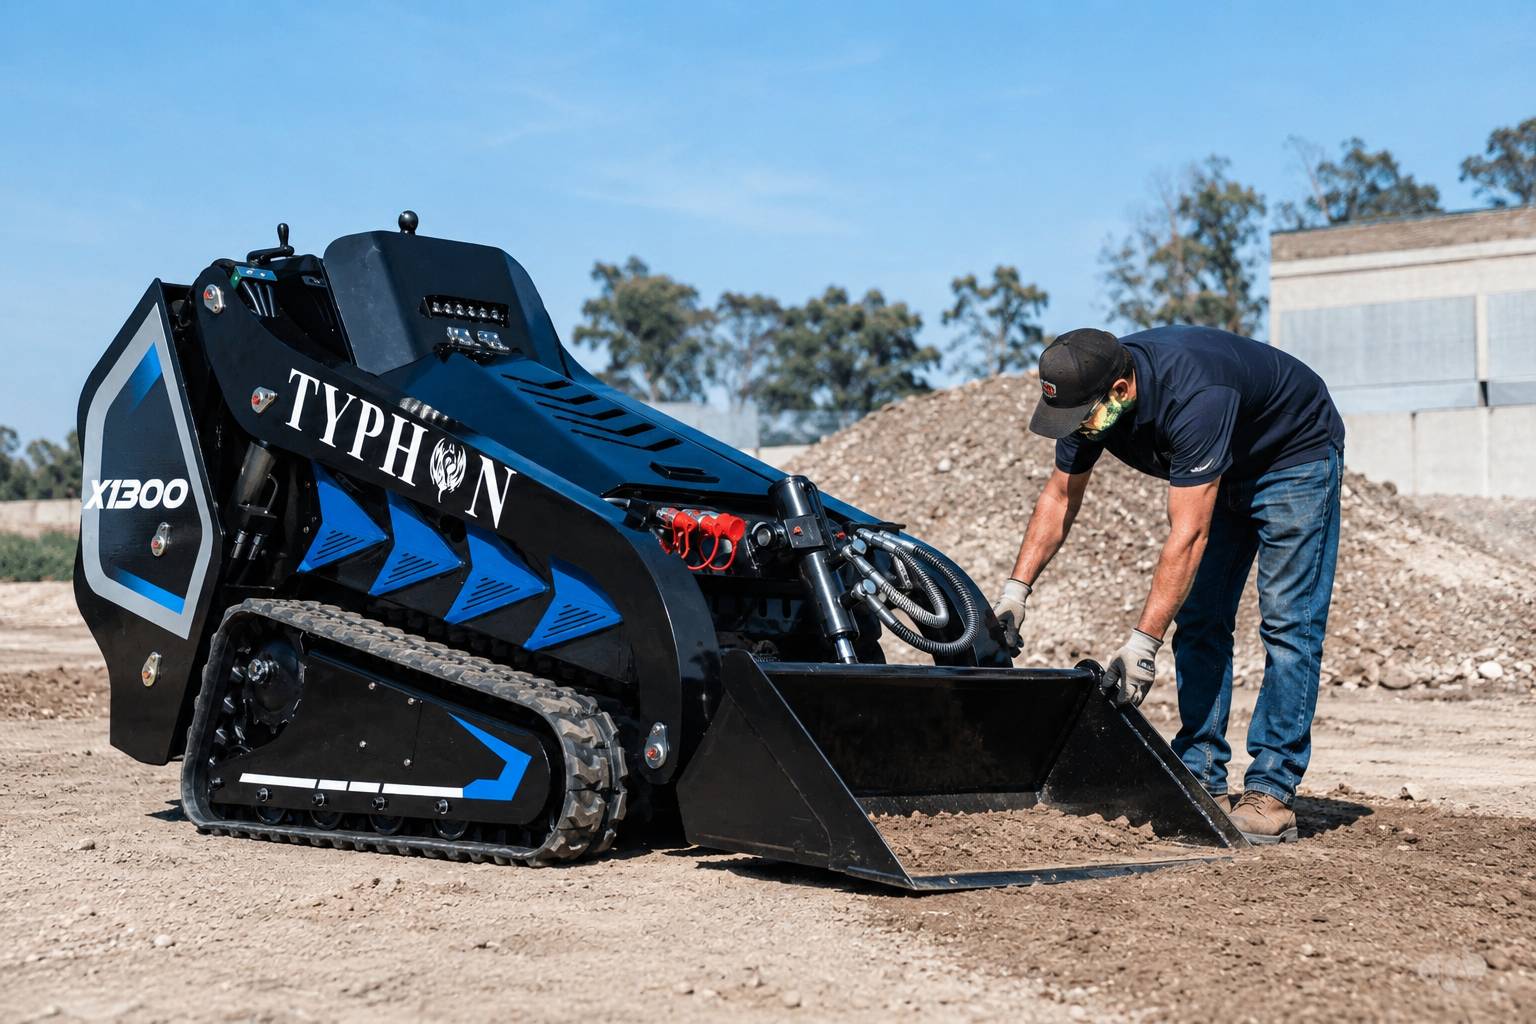
To begin grading, tilt the cutting edge slightly downward. This aggressive angle allows the sharp steel lip to shave off high bumps and push that extra dirt directly into the low craters. However, tilting too far forward will cause the machine to gouge the earth, creating deep ruts and ruining your progress. Conversely, if you tilt it too far backward, you will just slide over the dirt without cutting anything, wasting precious time.
Practicing with your joystick controls will help you find that perfect sweet spot to level ground with your mini skid steer bucket without digging accidental trenches. Drop the loader arms until the bucket rests firmly against the earth, applying consistent downward pressure.
3. Use the Correct Travel Speed
Your travel speed directly impacts the quality of your finished surface. If you want to seamlessly level ground with your mini skid steer bucket, you must maintain a slow, steady, and deliberate pace. Running your machine in first or second gear prevents the loader arms from bouncing violently.
Moving too fast causes the cutting edge to skip and hop across the terrain, creating a wavy, rippled surface resembling a washboard. Furthermore, excessive speed prevents you from physically feeling the resistance of the earth beneath you. Taking your time allows you to flawlessly level ground with your mini skid steer bucket while maintaining total control over your machine’s hydraulics.
4. Make Multiple Overlapping Passes
Achieving a flawless grade is never a one-and-done operation. You must level ground with your mini skid steer bucket using a series of overlapping passes.
Your first pass should be a rough cut—focusing solely on knocking down the highest peaks and filling the deepest holes. For your second pass, slightly adjust your angle and overlap your previous tire tracks by 50 percent to erase any remaining dirt ridges. Knowing the right techniques takes time, which is why operators should also study the 8 common mini skid steer operating errors new owners make.
5. Check Your Work Constantly
You cannot accurately level ground with your mini skid steer bucket by guessing from inside the operator’s platform. You must step off the machine frequently and physically inspect your progress.
Use a straight wooden board, a taut string line, or a laser level to identify hidden dips and subtle high spots. Walk across the freshly graded earth—your boots will often feel soft spots and bumps that your eyes miss from the cab. Constant verification guarantees that you successfully level ground with your mini skid steer bucket with zero drainage issues.
Advanced Tips for a Professional Finish
To truly master your craft and level ground with your mini skid steer bucket like a 20-year veteran, implement these advanced strategies. First, invest in a laser level for absolute precision. Second, utilize the “heel” (the flat back bottom) of your attachment by dragging it in reverse; this acts as a massive trowel to iron out loose soil.
Finally, roll your tracks or tires over the freshly moved dirt to compact it, preventing the soil from settling and sinking after the first rainstorm. Using these pro tips guarantees you beautifully level ground with your mini skid steer bucket every single time.
Common Mistakes to Avoid
Rookie operators often ruin their job sites by making avoidable errors. Digging too aggressively on the initial pass creates deep holes that require extra time to refill. Speeding across the yard causes the machine to bounce, leaving a terrible washboard effect.
❌ Do Not Use Dull Attachments
Trying to level ground with your mini skid steer bucket when the cutting edge is dull and worn out will only result in pushing dirt rather than cleanly slicing it. Maintain a sharp edge to ensure you properly level ground with your mini skid steer bucket without leaving distinct, ugly ridges between your tire tracks.
Tools That Assist the Grading Process
While the machine does the heavy lifting, secondary tools make the job precise. A laser level gives you an exact height reference, while a long aluminum straight-edge helps you spot subtle imperfections. String lines keep your slopes mathematically accurate. Utilizing these analog tools in conjunction with your loader ensures you flawlessly level ground with your mini skid steer bucket faster than relying on eyesight alone.
Why a Flat Surface Matters
Whether you are prepping a driveway, pouring a concrete slab, or laying down sod, a perfectly flat foundation is mandatory. Uneven terrain causes water to pool, creates severe tripping hazards, and damages the undercarriage of other heavy equipment. When you accurately level ground with your mini skid steer bucket, you lay the groundwork for a safe, efficient, and highly profitable construction site.
Practice Makes Perfect and Action Plan
Mastering heavy machinery requires patience and repetition. Practice in a forgiving area with sandy soil before tackling heavy clay or rocky yards. Follow the five steps, utilize your laser levels, and always overlap your tracks.
✅ Your Grading Action Plan
- Clear the site of all rocks, roots, and debris.
- Dial in a slight downward tilt on the cutting edge.
- Move in low gear to prevent bouncing.
- Use overlapping passes and finish with the float technique.
Over time, you will develop the muscle memory required to effortlessly level ground with your mini skid steer bucket, transforming messy backyards into pristine canvases.